
© Original recipe by The Spoon Studio ©
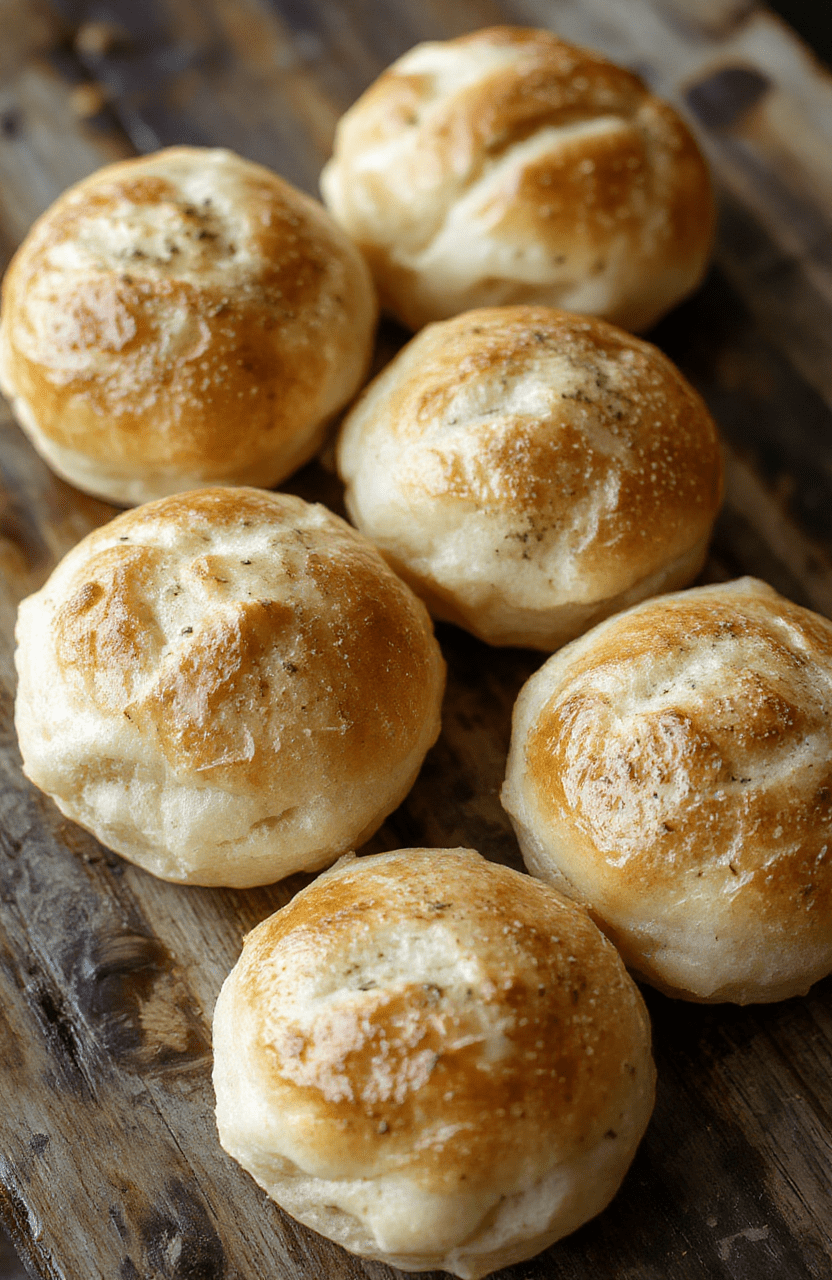
🍞🧄 Fluffy Garlic Rolls: Irresistible Side Dish for Any Meal 🥖🧄
1. Introduction
If you’re craving a warm, aromatic, and irresistibly soft side dish, these fluffy garlic rolls are exactly what you need. Perfectly golden on the outside with a tender, airy interior, these garlic bread rolls elevate any dinner. Whether serving a holiday feast or a casual weeknight meal, these rolls bring comforting flavor and delightful texture to your table. The fragrant garlic and buttery richness make them a true crowd-pleaser. Let’s explore how to create these irresistible dinner rolls that will have everyone reaching for seconds.
2. Why You’ll Love This Recipe
- Ready in 30 mins — quick enough for weeknights but impressive enough for guests.
- Easy one-bowl dough — minimizes mess and maximizes flavor.
- Versatile side — pairs perfectly with pasta, salads, or hearty mains.
- Incredible aroma of garlic and fresh herbs that fills your kitchen.
- Soft, fluffy texture that melts in your mouth with every bite.
3. Ingredient Notes
To achieve perfectly fluffy garlic rolls, choosing high-quality ingredients is essential. Use **bread flour** instead of all-purpose for a chewier, more elastic dough that traps air well, resulting in a light and airy texture. Fresh garlic cloves provide a robust, aromatic punch, but for a milder flavor, roasted garlic adds a sweet depth. Good quality butter and extra virgin olive oil lend richness and flavor, so don’t skimp here. Fresh herbs like parsley or thyme brighten the rolls and add a vibrant touch. Choosing fresh, organic ingredients enhances the overall taste and aroma that make these garlic rolls so irresistible.
4. Kitchen Tools You Need
To make the perfect garlic rolls, having the right tools simplifies your process. A Compact 6-in-1 Digital Air Fryer can give you an alternative method for baking these rolls, delivering crispy edges, while the T-fal 14-Piece Hard Anodized Nonstick Cookware Set ensures your dough is easy to work with and cleanup is a breeze. Additionally, a high-quality KitchenAid Artisan 5-Quart Stand Mixer makes kneading effortless, ensuring perfect gluten development and airy bread.
5. How to Make Fluffy Garlic Rolls
Prepare the Dough
Start by activating your yeast—combine warm water, a pinch of sugar, and active dry yeast. The mixture should foam within five minutes, a sign that your yeast is lively. Meanwhile, in a large mixing bowl or your stand mixer, combine bread flour, a teaspoon of salt, and a touch of sugar. Add the melted butter and eggs, then pour in the foamy yeast mixture. Knead the dough until it becomes smooth and elastic—should be slightly tacky but not sticky. Cover and let it rise for about 20-30 minutes in a warm spot—watch for it to double in size, indicating it’s ready for the next step.
Make the Garlic Butter
While the dough is rising, melt butter and combine with minced garlic, chopped herbs, and a pinch of salt. Smell that rich, fragrant aroma—your rolls are about to become irresistible. For a more intense garlic flavor, roast the garlic beforehand or add a dash of garlic powder if you’re in a pinch.
Shape & Assemble
Once the dough has doubled, punch it down gently and divide into equal portions. Roll each piece into smooth balls, then place them in a greased baking dish or a round cake pan. Brush the tops generously with your prepared garlic butter mixture. Let the shaped rolls rest for another 10 minutes—they’ll puff up slightly, becoming even fluffier.
Bake to Perfection
Bake in a preheated oven at 375°F (190°C) for about 15-20 minutes, or until the tops are golden brown and the aroma fills your kitchen. The smell of garlic, butter, and freshly baked bread will be delightful. Serve warm with extra garlic butter brushed on top for a shiny, flavorful finish. These soft, fluffy dinner rolls are perfect for sopping up sauces or standing alone as a savory snack.
6. Expert Tips for Success
- Use fresh yeast for reliable rise and fluffy texture.
- Ensure your liquids are just warm (around 110°F/43°C); hot liquids can kill yeast.
- Don’t skip the second rise; it develops the bread’s airy structure.
- Apply garlic butter while hot for maximum absorption and flavor.
- Use a light hand when shaping to maintain air pockets inside the dough.
7. Variations & Substitutions
If you’re on a dairy-free diet, substitute the butter with olive oil or coconut oil and use plant-based margarine. For a cheesy twist, sprinkle grated Parmesan or mozzarella inside or on top before baking. To make them herbaceous, add rosemary, oregano, or thyme to the garlic butter. For extra spice, pinch red pepper flakes into the garlic butter for a fiery kick. These versatile rolls can adapt to your preferences effortlessly.
8. Storage & Reheating
Store leftover garlic rolls in an airtight container at room temperature for up to 2 days. To keep them soft and fresh, reheat briefly in your air fryer or microwave. For longer storage, freeze the rolls wrapped tightly in plastic wrap and reheat in the oven or air fryer until warm and crispy.
9. FAQ
Can I make garlic rolls ahead of time?
Absolutely! Prepare and shape the rolls, then refrigerate them overnight. Let them come to room temperature for 30 minutes before baking for best results.
What is the best way to get fluffy garlic bread?
Use bread flour, allow adequate rising time, and ensure your oven is properly preheated. The second rise is crucial for soft, fluffy texture.
Can I freeze the dough?
Yes, you can freeze the shaped dough before the second rise. Let it thaw completely and rise at room temperature before baking.
How do I make these rolls more flavorful?
Add herbs like rosemary or thyme, sprinkle cheese inside, or use roasted garlic instead of raw for deeper flavor. Brushing with garlic butter just before serving enhances aroma and taste.
10. Conclusion
With their soft, fluffy texture and irresistible garlic aroma, these garlic rolls are a must-try side dish for any meal. Easy to prepare and delightfully tasty, they turn simple dinners into special occasions. Whether served with pasta, stews, or as part of a holiday feast, these garlic bread rolls will quickly become a family favorite. Enjoy baking and savoring every bite!
Print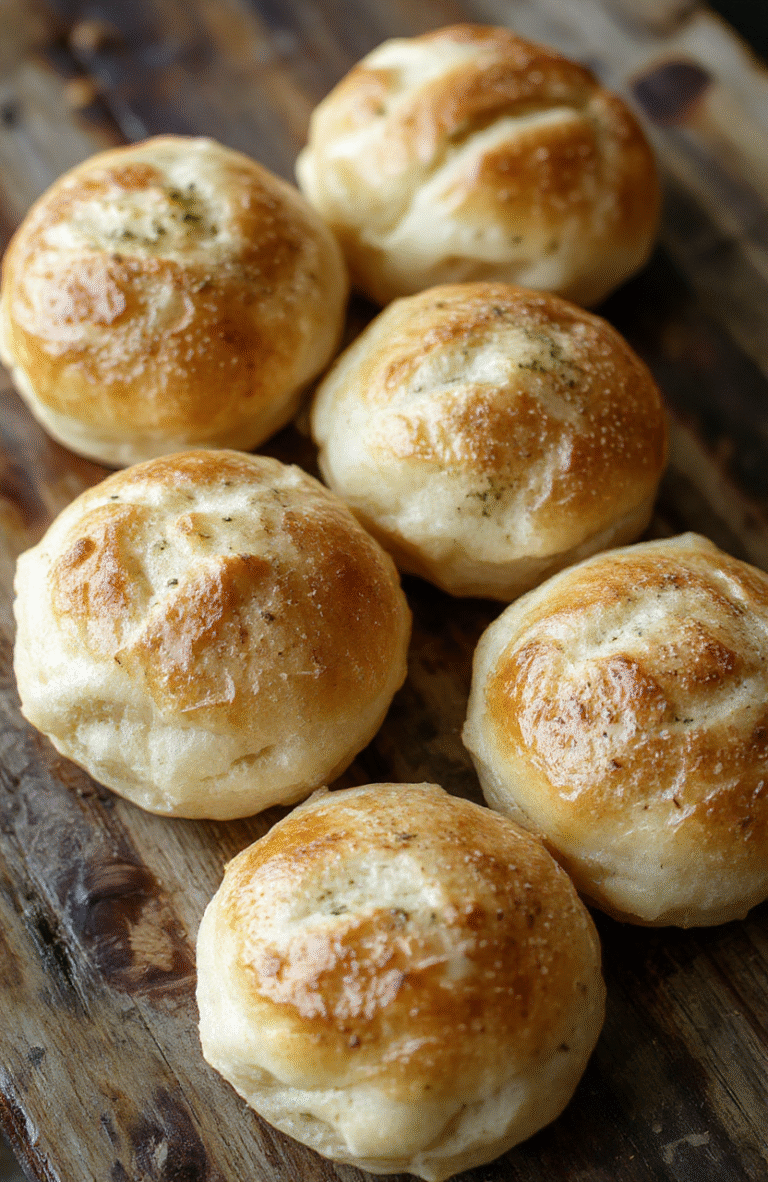
Fluffy Garlic Rolls: Irresistible Side Dish for Any Meal
A batch of soft, fluffy garlic rolls baked with fragrant garlic butter and herbs, ideal for dinner, lunch, or as a snack. Perfectly golden on top, tender inside.
- Total Time: 1 hour 33 minutes
- Yield: 12 rolls
Ingredients
- 2½ cups all-purpose flour
- 1 packet active dry yeast (2¼ teaspoons)
- 1 cup warm milk
- ¼ cup unsalted butter, melted
- 2 tablespoons sugar
- 1 teaspoon salt
- 3 cloves garlic, minced
- 2 tablespoons chopped fresh parsley
- Extra melted butter for brushing
Instructions
- In a small bowl, combine warm milk, sugar, and yeast. Let sit until foamy, about 5 minutes.
- In a large mixing bowl, combine flour and salt. Add yeast mixture and melted butter. Mix until a soft dough forms.
- Knead the dough on a floured surface until smooth, about 8 minutes. Place in a greased bowl, cover, and let rise until doubled, about 1 hour.
- Preheat oven to 375°F (190°C). Punch down the dough and divide into 12 equal pieces. Shape into balls and place on a baking sheet lined with parchment paper.
- In a small bowl, mix minced garlic and chopped parsley. Brush the rolls with melted butter and sprinkle garlic-herb mixture evenly over the top.
- Bake for 15-18 minutes or until golden brown. Brush with additional melted butter before serving.
Notes
- For extra flavor, add grated Parmesan cheese or a pinch of red pepper flakes to the garlic topping.
- Ensure milk is warm, not hot, to activate the yeast properly.
- Prep Time: 15 minutes
- Cook Time: 18 minutes
- Method: Baking
- Cuisine: American
- Diet: Vegetarian
Nutrition
- Serving Size: 1 roll
- Calories: 180 Kcal
- Sugar: 3g
- Sodium: 210mg
- Fat: 8g
- Saturated Fat: 5g
- Unsaturated Fat: 2g
- Trans Fat: 0g
- Carbohydrates: 24g
- Fiber: 1g
- Protein: 4g
- Cholesterol: 20mg